
Trezor Setup Guide: Getting Started with Your Hardware Wallet
Congratulations on purchasing your Trezor hardware wallet! This guide will walk you through the complete setup process to ensure your cryptocurrencies are secure from the start.
Security Warning: Only purchase Trezor devices from official sources. Third-party sellers may compromise device security.
Before You Begin
Ensure you have the following items ready:
- Your Trezor device (Model T or One)
- USB cable
- Recovery seed card
- Computer with internet access
- Google Chrome or Firefox browser (recommended)
Step-by-Step Setup Process
1Connect Your Trezor
Connect your Trezor device to your computer using the provided USB cable. The device should power on automatically.
If this is your first time using the device, you should see a welcome message on the screen.

2Install Trezor Bridge
Trezor Bridge is a communication tool that allows your Trezor device to talk to your browser. It's required for the setup process.
Visit trezor.io/start and follow the instructions to download and install Trezor Bridge for your operating system.

3Initialize Your Device
After installing Trezor Bridge, refresh the trezor.io/start page and click "Setup your Trezor."
Follow the on-screen instructions to install the latest firmware on your device. This ensures you have the most recent security updates.

4Create Your Wallet
You'll be given two options: "Create new wallet" or "Recover wallet." Since this is your first setup, select "Create new wallet."
Choose between "Standard seed backup" or "Shamir Backup" (available on Model T). For most users, standard backup is recommended.

5Backup Your Recovery Seed
This is the most critical security step. Your recovery seed is a list of 12, 18, or 24 words that can restore your wallet if your device is lost or damaged.
Write down the words in exact order on your recovery card. Never digitize this seed (no photos, cloud storage, or digital documents).
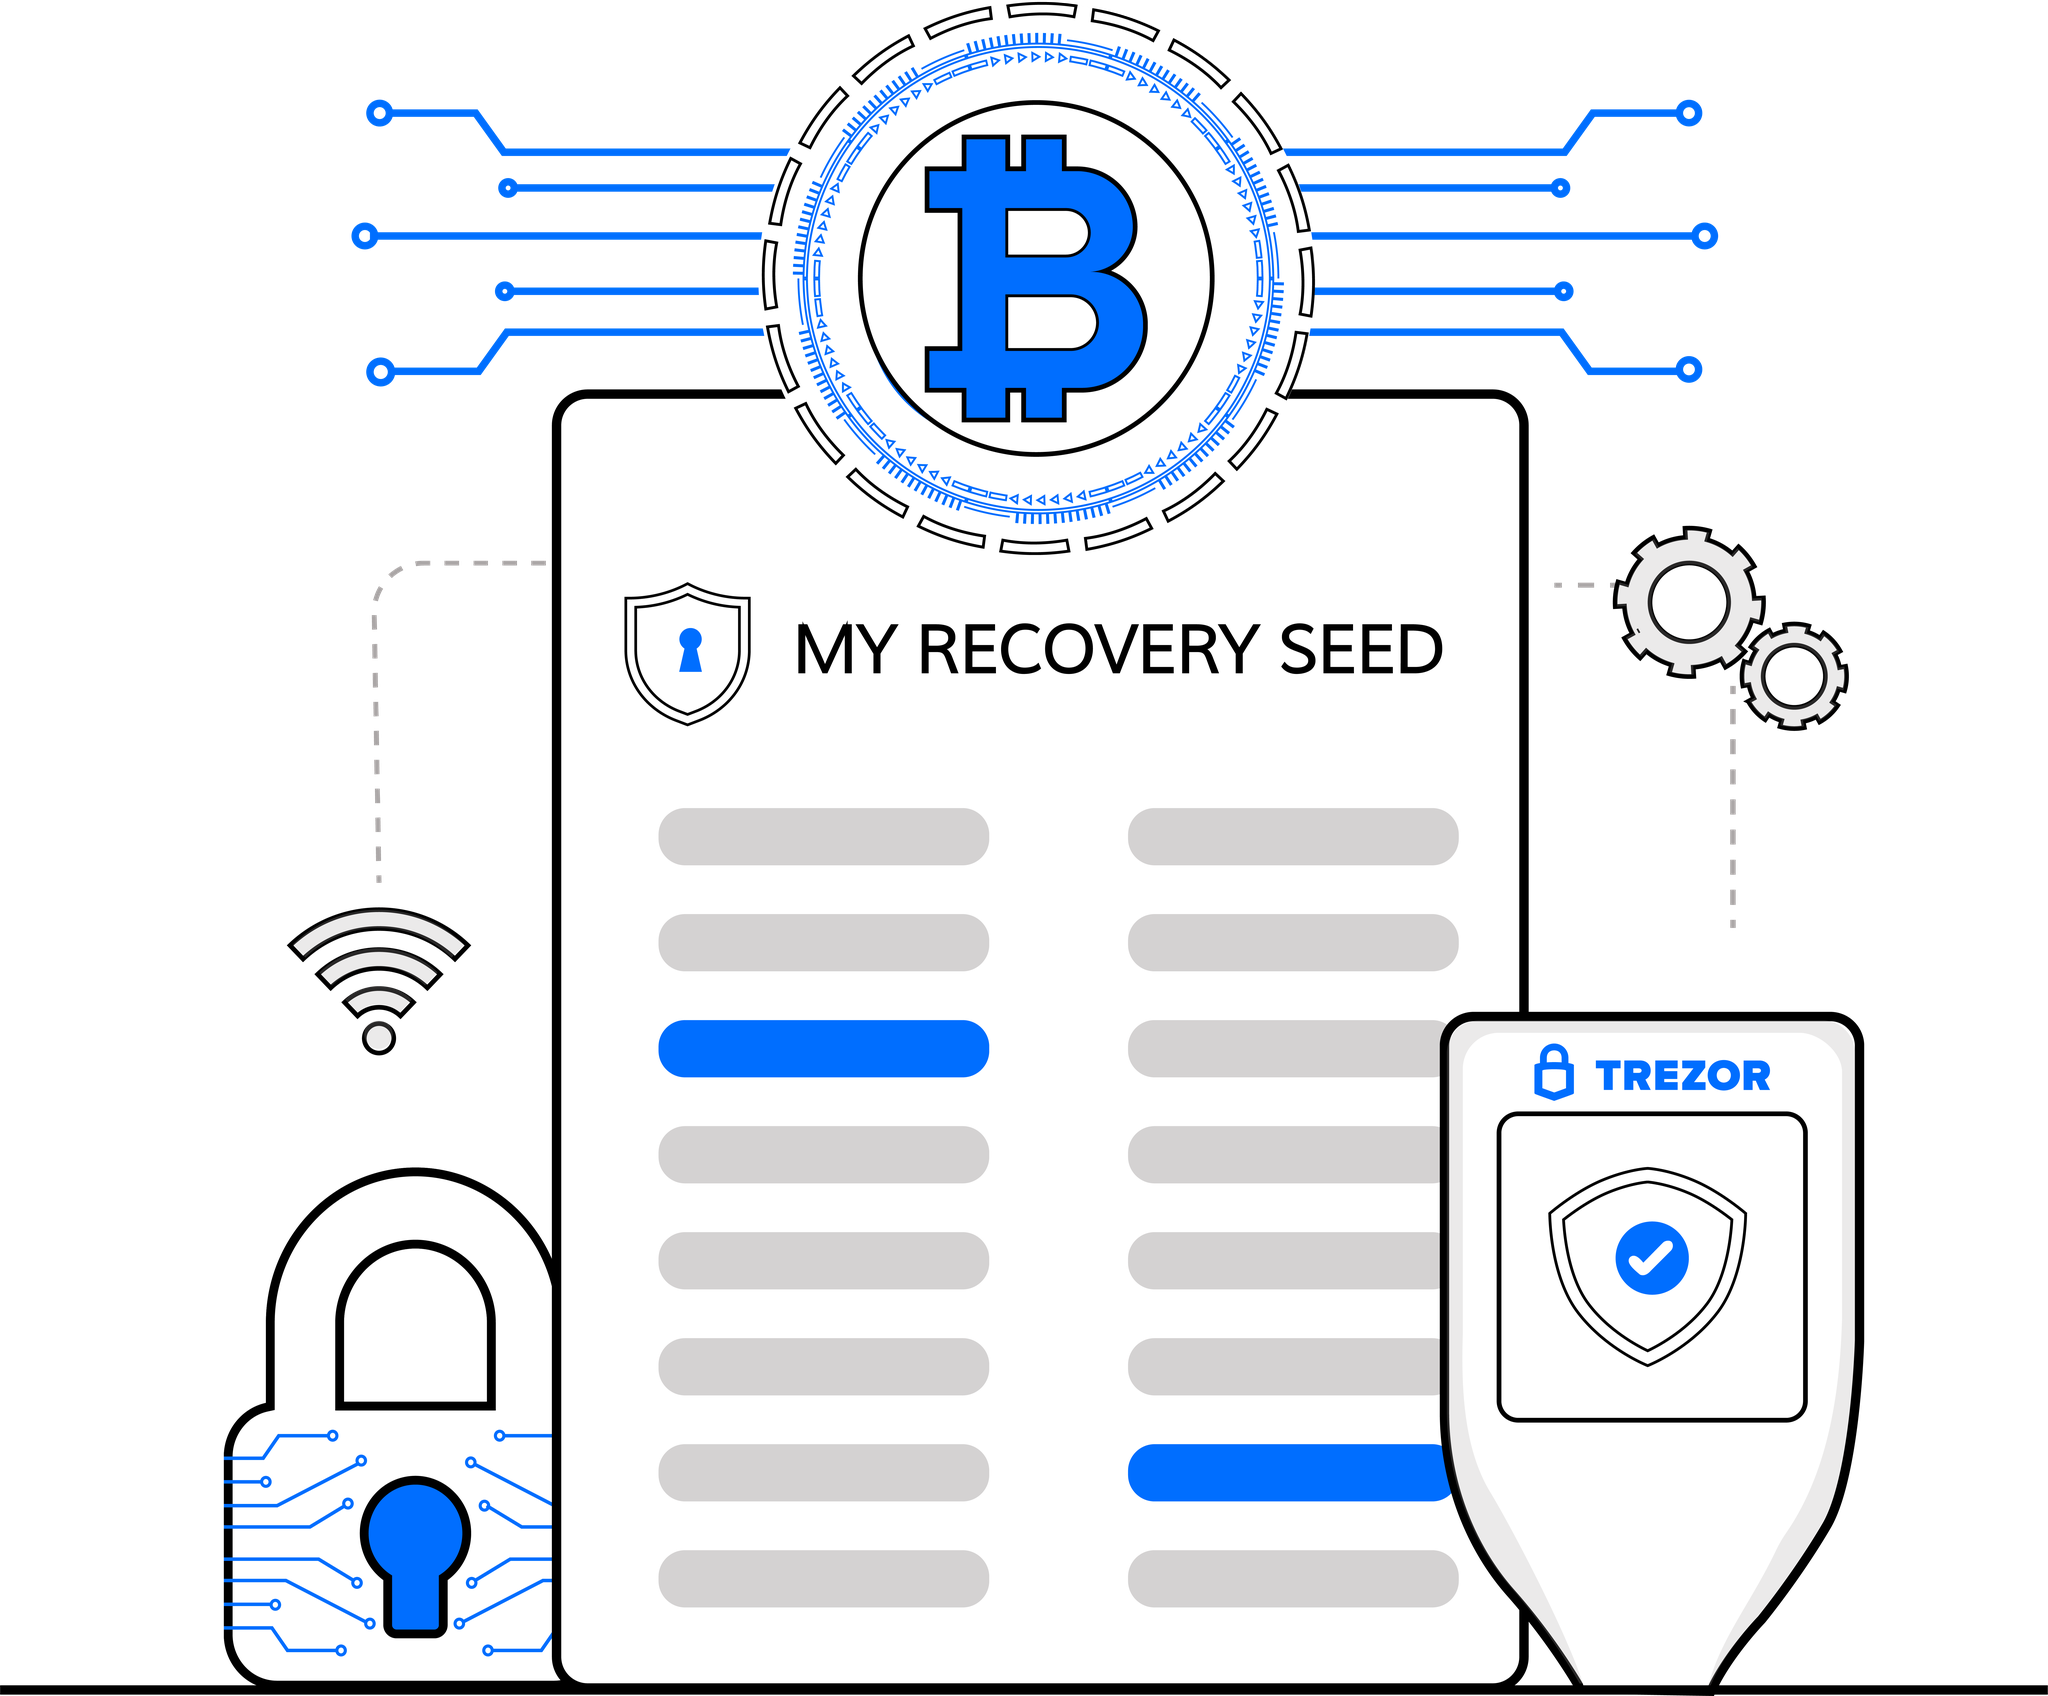
Pro Tip: Store your recovery seed in multiple secure locations, such as a fireproof safe or safety deposit box. Never share it with anyone.
6Verify Your Seed
After recording your seed, the device will ask you to verify it by selecting the words in the correct order. This ensures you've properly recorded your recovery phrase.
Complete this verification carefully. If you make a mistake, you'll need to start the setup process over.

7Set a PIN
Protect your device with a PIN code. This prevents unauthorized access if your device is stolen.
Use the Trezor device's display to enter your PIN. The web interface will show a randomized number pad for security.

8Access Your Wallet
Congratulations! Your Trezor is now set up. You can access your wallet through the Trezor Suite application or via the web interface.
Explore the features, including sending/receiving crypto, checking balances, and using third-party applications with your Trezor.

Next Steps and Advanced Features
Now that your Trezor is set up, consider exploring these advanced features:
Using Trezor Suite
Trezor Suite is the official desktop and web application for managing your cryptocurrency. It offers:
- Portfolio tracking and price charts
- Exchange integration for buying/selling crypto
- Advanced security features like passphrase encryption
- Staking capabilities for supported coins
Adding a Passphrase
For additional security, consider adding a passphrase to your wallet. This creates a hidden wallet that is inaccessible without both your recovery seed and the passphrase.
Important: If you forget your passphrase, there is no way to recover it. Your funds will be permanently lost.
Connecting to Third-Party Wallets
Your Trezor can connect to various third-party wallets like MetaMask, Electrum, and MyEtherWallet for accessing specialized features while maintaining hardware-level security.
Troubleshooting Common Issues
Device Not Recognized
If your computer doesn't recognize your Trezor:
- Try a different USB cable or port
- Ensure Trezor Bridge is installed and running
- Try restarting your browser and computer
Forgotten PIN
If you forget your PIN, you'll need to wipe your device and restore it using your recovery seed. This process will erase the device, but your funds will be safe as long as you have your seed.
Firmware Update Issues
If you encounter problems during firmware updates:
- Ensure you have a stable internet connection
- Don't disconnect your device during the update process
- If the update fails, try using a different browser
For additional support, visit the Trezor Support Center or check the Trezor Knowledge Base.